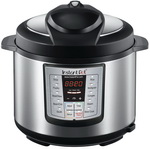
时间过的真快,毛毛妈厨房转为双语网站,转眼已经快一周年了。为感谢大家一直的支持与鼓励,6月9日礼拜天下午2点开始,将推出我最喜欢的快煲电压力锅作为双语网站一周年抽奖的奖品,请网亲们关注。
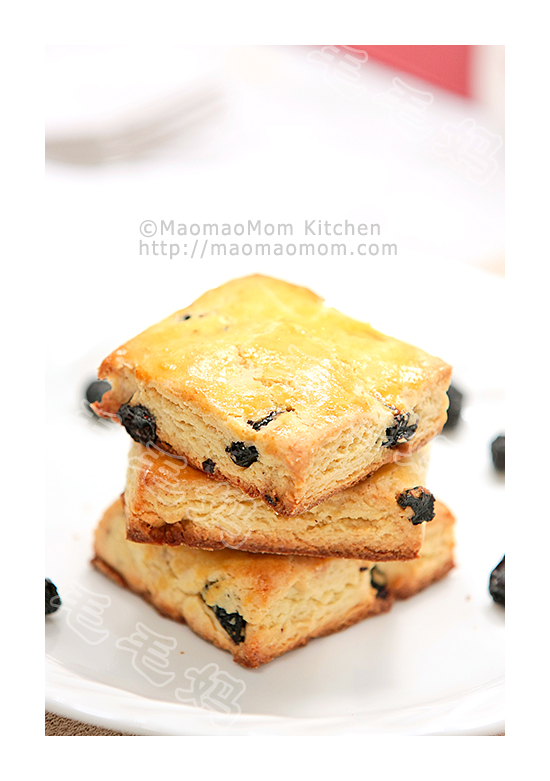
【蓝莓酥】
by 毛毛妈
受君之的葡萄奶酥启发,做了这个蓝莓酥,挺不错。
1:牛油1/3杯+1大匙(90克)室温软化,糖1/3杯(78克),奶粉2大匙(13克);
2:大号鸡蛋的蛋黄2.5个,香草香精 1茶匙;
3:低筋面粉(cake & pastry flour)1.5杯(180克),泡打粉1/2茶匙;
4:蓝莓干1/2杯(80克);
5:水1-2茶匙;
6:半个蛋黄,水1/2茶匙,拌匀。
注:1大匙Tablespoon=15毫升,1茶匙Teaspoon=5毫升,1杯Cup=240毫升。
做法:
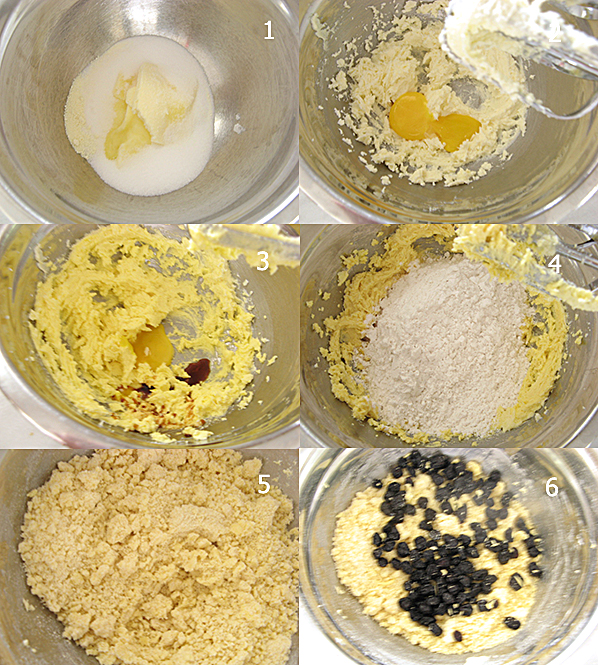
1、预热烤箱355F/180摄氏度。将1料放入一盆里(图1),用打蛋器(handheld mixer)高速打2-3分钟到蓬松。放入一个蛋黄(图2),低速打匀。再放一个蛋黄低速打匀。最后放剩下的半个蛋黄和1茶匙香草香精(图3),低速打匀。
2、将3料的面粉和泡打粉充分混合均匀后,倒入打发的蛋黄里(图4),中速打匀(图5)。再加入蓝莓干(图6)拌匀,揉成软面团,如果比较干,可适当加1-2茶匙水,面团不要过度揉。
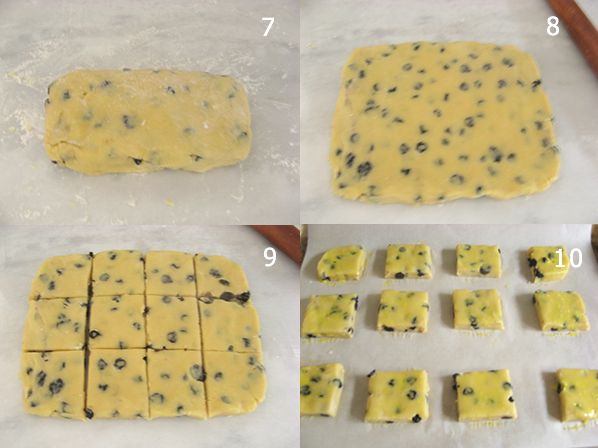
3、将面团在案板上揉成一长条后压扁(图7),擀开成20 x 16厘米的面片(图8),切12等份(图9)。
4、放到铺了烤盘纸的烤盘里,刷上6料的蛋液(图10),放入预热至355F/180摄氏的烤箱内,烤15分钟左右至表面金黄色拿出。
5、酥饼烤好后,放架子上冷凉后食用。



Thank you, I have recently been looking for information approximately this subject for a long time and yours is the best I’ve came upon till now. However, what about the bottom line? Are you sure about the supply?
I’ll right away grab your rss as I can’t find your email subscription link or newsletter service. Do you have any? Kindly let me know in order that I could subscribe. Thanks.
It’s really a great and helpful piece of info. I’m glad that you shared this helpful info with us. Please keep us informed like this. Thanks for sharing.
Heya this is kind of of off topic but I was wondering if blogs use WYSIWYG editors or if you have to manually code with HTML. I’m starting a blog soon but have no coding expertise so I wanted to get advice from someone with experience. Any help would be greatly appreciated!