【红葱头芦笋炒鸡蛋】
MaomaoMom/毛毛妈
这次在CostCo买的芦笋粗且嫩. 用它及红葱头炒鸡蛋, 简单快速美味营养, 早餐晚餐吃都好.
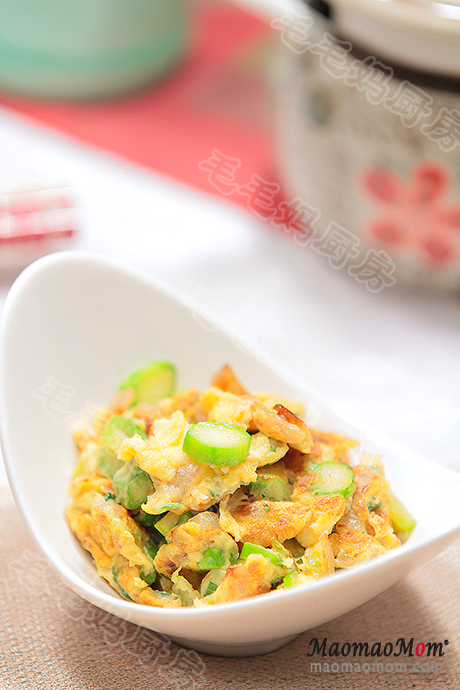
用料:
1: 粗芦笋3根(110克);
2: 红葱头2个(120克);
3: 鸡蛋3个, 葱花2大匙, 盐1/2茶匙, 鸡粉1/4茶匙;
4: 牛油果油1大匙;
5: 香油 1茶匙.
注:1大匙Tablespoon =15毫升,1茶匙Teaspoon =5毫升,1杯Cup=240毫升。
做法
1、芦笋剥刮去皮(图1),冲洗后切2毫米厚薄片(图2)待用. 红葱头(图3)剥去皮冲洗后切小丁(图4).
2、鸡蛋及所有3料放一碗中(图5),用一叉子打均匀待用(图6).

3、不粘锅大中火加1大匙油, 放入红葱头碎炒1-2分钟(图7)至软身微黄, 然后放入芦片(图8)炒30秒.
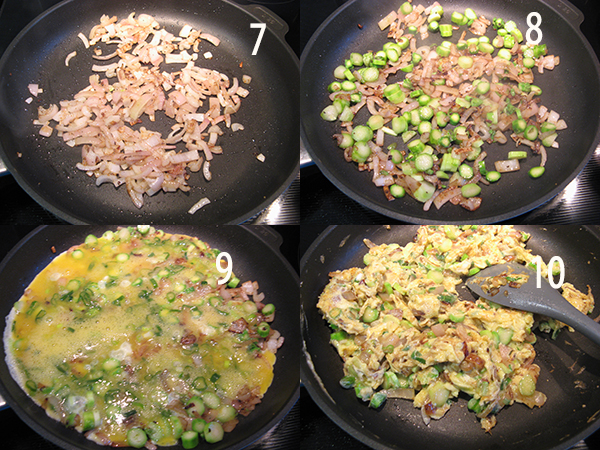
4、加入打匀的蛋汁(图9), 再炒1-2分钟至蛋液凝固(图10). 加1茶匙香油炒匀即可出锅.



Hey there! This post could not be written any better! Reading through this post reminds me of my good old room mate! He always kept chatting about this. I will forward this write-up to him. Fairly certain he will have a good read. Thanks for sharing!
A powerful share, I simply given this onto a colleague who was doing a little bit analysis on this. And he in truth bought me breakfast as a result of I found it for him.. smile. So let me reword that: Thnx for the treat! But yeah Thnkx for spending the time to debate this, I really feel strongly about it and love studying extra on this topic. If doable, as you become expertise, would you thoughts updating your weblog with extra particulars? It’s highly helpful for me. Huge thumb up for this weblog submit!
Wow that was unusual. I just wrote an very long comment but after I clicked submit my comment didn’t show up. Grrrr… well I’m not writing all that over again. Anyway, just wanted to say superb blog!
I love the efforts you have put in this, appreciate it for all the great blog posts.