【红葱头芦笋炒鸡蛋】
MaomaoMom/毛毛妈
这次在CostCo买的芦笋粗且嫩. 用它及红葱头炒鸡蛋, 简单快速美味营养, 早餐晚餐吃都好.
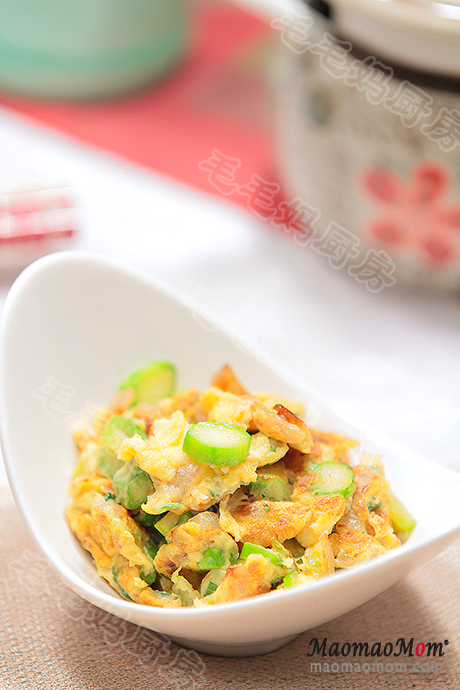
用料:
1: 粗芦笋3根(110克);
2: 红葱头2个(120克);
3: 鸡蛋3个, 葱花2大匙, 盐1/2茶匙, 鸡粉1/4茶匙;
4: 牛油果油1大匙;
5: 香油 1茶匙.
注:1大匙Tablespoon =15毫升,1茶匙Teaspoon =5毫升,1杯Cup=240毫升。
做法
1、芦笋剥刮去皮(图1),冲洗后切2毫米厚薄片(图2)待用. 红葱头(图3)剥去皮冲洗后切小丁(图4).
2、鸡蛋及所有3料放一碗中(图5),用一叉子打均匀待用(图6).

3、不粘锅大中火加1大匙油, 放入红葱头碎炒1-2分钟(图7)至软身微黄, 然后放入芦片(图8)炒30秒.
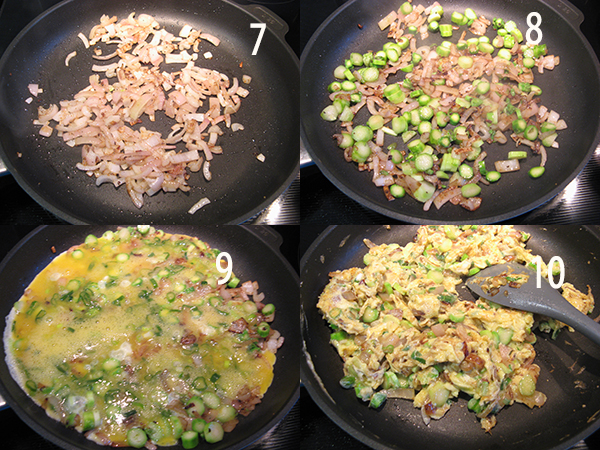
4、加入打匀的蛋汁(图9), 再炒1-2分钟至蛋液凝固(图10). 加1茶匙香油炒匀即可出锅.



Excellent goods from you, man. I’ve understand your stuff previous to and you are just extremely excellent. I actually like what you’ve acquired here, certainly like what you are saying and the way in which you say it. You make it entertaining and you still care for to keep it sensible. I cant wait to read much more from you. This is actually a great site.
Hi there! This post couldn’t be written any better! Reading through this post reminds me of my previous room mate! He always kept talking about this. I will forward this article to him. Pretty sure he will have a good read. Thank you for sharing!
Throughout this great scheme of things you’ll get a B- for effort and hard work. Where exactly you lost me personally ended up being on the specifics. You know, as the maxim goes, the devil is in the details… And it couldn’t be more accurate here. Having said that, allow me tell you just what exactly did give good results. Your writing is very convincing and that is probably the reason why I am making an effort to comment. I do not really make it a regular habit of doing that. Next, although I can see a leaps in logic you come up with, I am not really sure of exactly how you appear to connect your ideas which inturn produce the actual conclusion. For now I will, no doubt yield to your issue however trust in the future you actually connect your dots much better.
Very great visual appeal on this website , I’d value it 10 10.