【AirGo-莴笋鸡丁】
MaomaoMom/毛毛妈
用爱锅AirGo做了莴笋鸡丁, 鸡肉嫩滑莴笋脆脆, 好滋味, 且轻松便捷无油烟。想购买点AirGo爱锅,用 maomao25 优惠券有for $25 折扣。
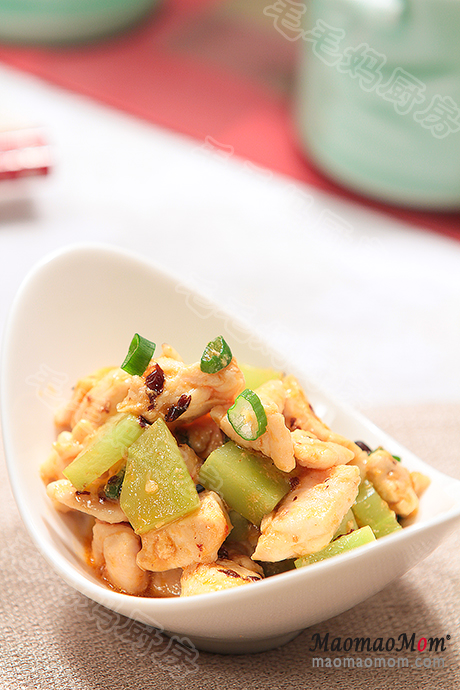
用料:
1: 有机鸡胸肉2块520克, 盐1/2 茶匙, 生粉1茶匙;
2: 莴笋一条(380克);
3: 牛油果油 1.5大匙, 葱花1大匙, 蒜蓉2茶匙, 李锦记豆豉辣椒酱1大匙;
4: 头抽酱油1.5大匙,鸡粉1/4茶匙,盐1/4茶匙;
5: 香油 1茶匙.
注:1大匙Tablespoon =15毫升,1茶匙Teaspoon =5毫升,1杯Cup=240毫升。
做法
1、鸡胸肉洗净沥水后切1厘米大小丁 (图1). 用手抓捏1分钟放盐1/2茶匙及生粉1茶匙拌匀. 莴笋削去皮水冲洗, 也切小丁(图2),待用.
2、【AirGo】插上电源,用“Function”选“Air Fryer”然后选择420F及7分钟,点“Start”预热。预热后放入1.5大匙油,葱花, 蒜蓉, 及豆豉辣椒酱(图3), 炒几下盖上盖让程序继续。.
3、等程序进行了1分钟,打开盖子, 放入鸡丁及莴笋丁 (图5), 搅拌几下, 盖上盖继续。

4、程序进行到还有2分钟后或提醒翻转时,打开盖子,所有4料搅拌均匀(图5),盖上盖, 让程序完成。
5、等程序完成,打开盖子, 放1茶匙香油, 翻炒均匀, 即可盛出上桌了。



Excellent read, I just passed this onto a friend who was doing a little research on that. And he actually bought me lunch since I found it for him smile Thus let me rephrase that: Thank you for lunch! “High living and high thinking are poles apart.” by B. J. Gupta.
Whats up very nice web site!! Guy .. Excellent .. Amazing .. I will bookmark your website and take the feeds also…I’m satisfied to search out so many helpful info here within the post, we’d like work out more strategies in this regard, thanks for sharing.
I like what you guys are up too. Such intelligent work and reporting! Keep up the excellent works guys I have incorporated you guys to my blogroll. I think it’ll improve the value of my site 🙂
The following time I read a blog, I hope that it doesnt disappoint me as a lot as this one. I mean, I know it was my choice to read, but I truly thought youd have one thing fascinating to say. All I hear is a bunch of whining about something that you possibly can fix when you werent too busy searching for attention.