【柠檬酥饼】
by 毛毛妈
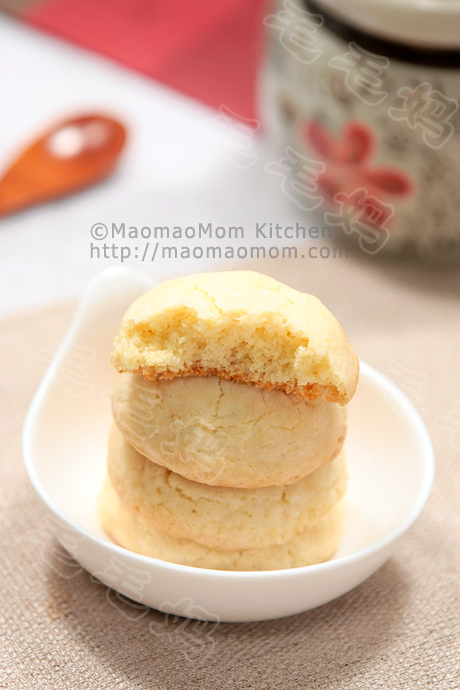
在Pinterest网上看到这款饼干,稍微变动了下方子,饼干容易做,且成品外皮非常酥松,非常好吃的一款饼干,亲们一定要试试。
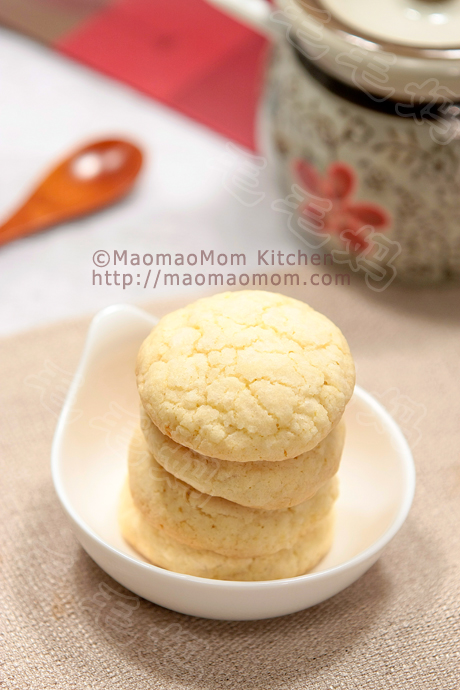
1:牛油1/2杯(120克)室温软化,糖2/3杯(140克)
2:1个柠檬;
3:大鸡蛋1只,香草香精 1/2茶匙;
4:中筋面粉3/4杯(120克),低筋粉1/2杯(75克),盐1/3茶匙,小苏打1/3茶匙,泡打粉1/2茶匙,放一盆里充分混合均匀;
5:糖粉1/4杯。
注:1大匙=15毫升=1 Tablespoon,1茶匙=5毫升=1 Teaspoon,1杯=240毫升。以上材料做32块饼干。
做法:
1、预热烤箱350F/176摄氏度。将所有1料放入一盆里(图1),用打蛋器(handheld mixer)高速打3-4分钟到蓬松。将柠檬擦出的皮屑(大约1茶匙)和挤出的柠檬汁取1大匙(图2),倒入打发的牛油里。剩余柠檬可以丢弃或以后泡水喝。
2、将鸡蛋和香草香精也放入(图3),中速打匀。然后放入充分混合均匀的面粉(图4),低速打至大致混合(图5),用橡皮刀将面粉及打发黄油拌匀成团(图6)即可,不要过度搅拌。

3、取一小块面团大约1.5大匙,双手掌上揉成球状,放入糖粉里(图7)均匀沾上薄薄一层,再揉下,放到铺了烤盘纸的烤盘里(图8)间隔2英寸。做好剩余的饼干球。
4、放入预热至350F/176C的烤箱内,烤13分钟左右,至边缘金黄色拿出。饼干烤好后放架子上冷凉即可食用。



Thanks for all of your efforts on this site. My daughter takes pleasure in engaging in investigations and it’s simple to grasp why. Most people learn all about the compelling means you deliver insightful guides through your blog and even boost participation from people about this issue then our simple princess is understanding a lot of things. Take pleasure in the remaining portion of the year. You are always doing a very good job.
Excellent post. I was checking continuously this blog and I’m impressed! Extremely useful information specifically the last part 🙂 I care for such information much. I was seeking this particular info for a long time. Thank you and good luck.
I like this post, enjoyed this one regards for putting up. “‘I have done my best.’ That is about all the philosophy of living one needs.” by Lin Yutang.
Hi! This post couldn’t be written any better! Reading this post reminds me of my good old room mate! He always kept chatting about this. I will forward this post to him. Pretty sure he will have a good read. Many thanks for sharing!