【柠檬酥饼】
by 毛毛妈
在Pinterest网上看到这款饼干,稍微变动了下方子,饼干容易做,且成品外皮非常酥松,非常好吃的一款饼干,亲们一定要试试。
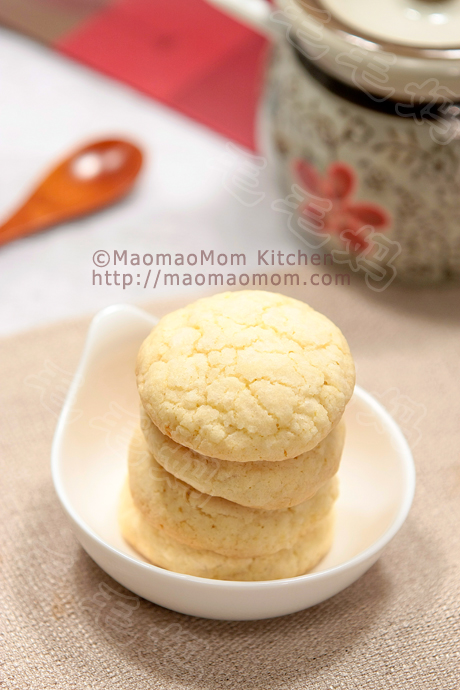
1:牛油1/2杯(120克)室温软化,糖2/3杯(140克)
2:1个柠檬;
3:大鸡蛋1只,香草香精 1/2茶匙;
4:中筋面粉3/4杯(120克),低筋粉1/2杯(75克),盐1/3茶匙,小苏打1/3茶匙,泡打粉1/2茶匙,放一盆里充分混合均匀;
5:糖粉1/4杯。
注:1大匙=15毫升=1 Tablespoon,1茶匙=5毫升=1 Teaspoon,1杯=240毫升。以上材料做32块饼干。
做法:
1、预热烤箱350F/176摄氏度。将所有1料放入一盆里(图1),用打蛋器(handheld mixer)高速打3-4分钟到蓬松。将柠檬擦出的皮屑(大约1茶匙)和挤出的柠檬汁取1大匙(图2),倒入打发的牛油里。剩余柠檬可以丢弃或以后泡水喝。
2、将鸡蛋和香草香精也放入(图3),中速打匀。然后放入充分混合均匀的面粉(图4),低速打至大致混合(图5),用橡皮刀将面粉及打发黄油拌匀成团(图6)即可,不要过度搅拌。

3、取一小块面团大约1.5大匙,双手掌上揉成球状,放入糖粉里(图7)均匀沾上薄薄一层,再揉下,放到铺了烤盘纸的烤盘里(图8)间隔2英寸。做好剩余的饼干球。
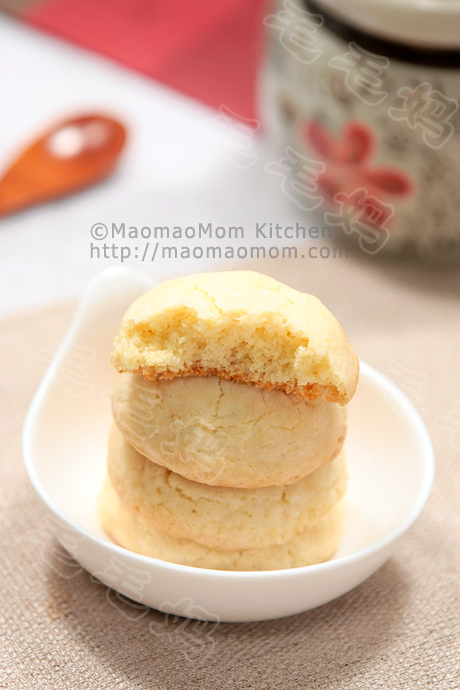
4、放入预热至350F/176C的烤箱内,烤13分钟左右,至边缘金黄色拿出。饼干烤好后放架子上冷凉即可食用。



I needed to create you the tiny observation in order to thank you very much again with your breathtaking principles you have shared on this site. It has been simply surprisingly generous of you to deliver without restraint all that most of us would have offered as an ebook to earn some bucks for their own end, notably seeing that you could possibly have tried it in the event you decided. Those secrets likewise acted like a fantastic way to be sure that someone else have the same dream much like mine to learn good deal more in regard to this issue. I’m sure there are many more fun periods up front for individuals that read carefully your site.
Only wanna remark on few general things, The website design is perfect, the content material is real good : D.
Wow, incredible weblog structure! How long have you ever been running a blog for? you made running a blog glance easy. The total glance of your web site is great, as well as the content material!
I have read some good stuff here. Definitely worth bookmarking for revisiting. I wonder how much effort you put to create such a great informative site.